
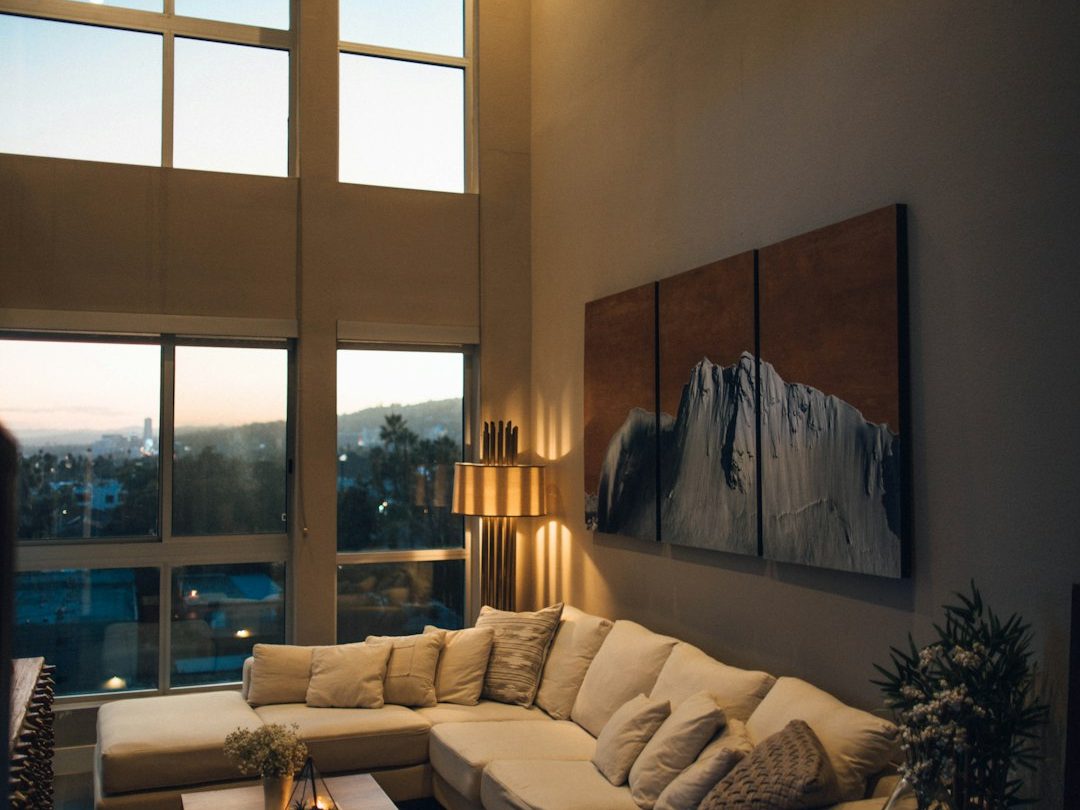
You do not have to rebuild every room to explore home automation. A finished flat can often be upgraded in stages, but the possible scope depends on its wiring, switchboards, connected equipment and access. Start with a survey and a few useful routines rather than a promise that any device will fit anywhere.
The first decision: choose what should become easier—lighting at bedtime, tall curtains, a movie setting or selected appliances. Then ask the installer to confirm the proposed devices, physical controls and installation work for those functions. “Retrofit” describes an approach; it does not guarantee zero disruption.
Make a room-by-room wish list
Walk through the home at the times you use it most. Record which switches you reach for, which curtains are awkward and which routines require several separate actions. Prioritise two or three outcomes the whole household understands.
A living-room lighting scene may be a good first phase if it solves a daily problem. Automating every room at once may be unnecessary. Keep convenience, accessibility and aesthetics distinct so the proposal can show the benefit of each item.
Illustrative reference image; not an AHL installation.
What the installer needs to assess
- Switchboard depth, available space and accessible wiring.
- Connected loads, existing switches and the required control behaviour.
- Fixture and driver compatibility where dimming is proposed.
- Power and mounting provisions for curtain motors.
- Network coverage and any local controller requirements.
- Service access and the work needed to reinstate finishes.
Homeowners can share photographs of the room and the outside of switchboards for an initial conversation. Leave opening boards and electrical inspection to a qualified professional. A remote estimate should state what still depends on the site assessment.
Can existing switches remain?
SmartNode describes devices designed to fit behind existing switchboards and support compatible physical controls. The selected module, available space, wiring and load must still be checked. Keeping a familiar switch can make the upgrade easier to use, but it does not make every installation identical. See the manufacturer’s Smart Device information for model-specific capabilities.
Ask the team to demonstrate the actual proposed control method. Decide whether you want traditional switches, a touch panel or a combination. Check labels from the perspective of someone who has never used the app.
Internet failure is not the same as a power cut
Supported SmartNode devices offer local control methods when the internet is unavailable. Confirm the behaviour of the exact devices in your proposal. Remote access, cloud services and integrations may have different dependencies; do not treat one offline-capable feature as a promise about every function.
| Scenario | What to confirm |
|---|---|
| Internet unavailable | Which switches, keypads and local routines continue to work? |
| Home network unavailable | Which functions rely on that network, and what is the manual fallback? |
| Power interruption | What happens when power returns, and which settings are retained? |
| Owner’s phone unavailable | Can the household still use essential lighting and curtains? |
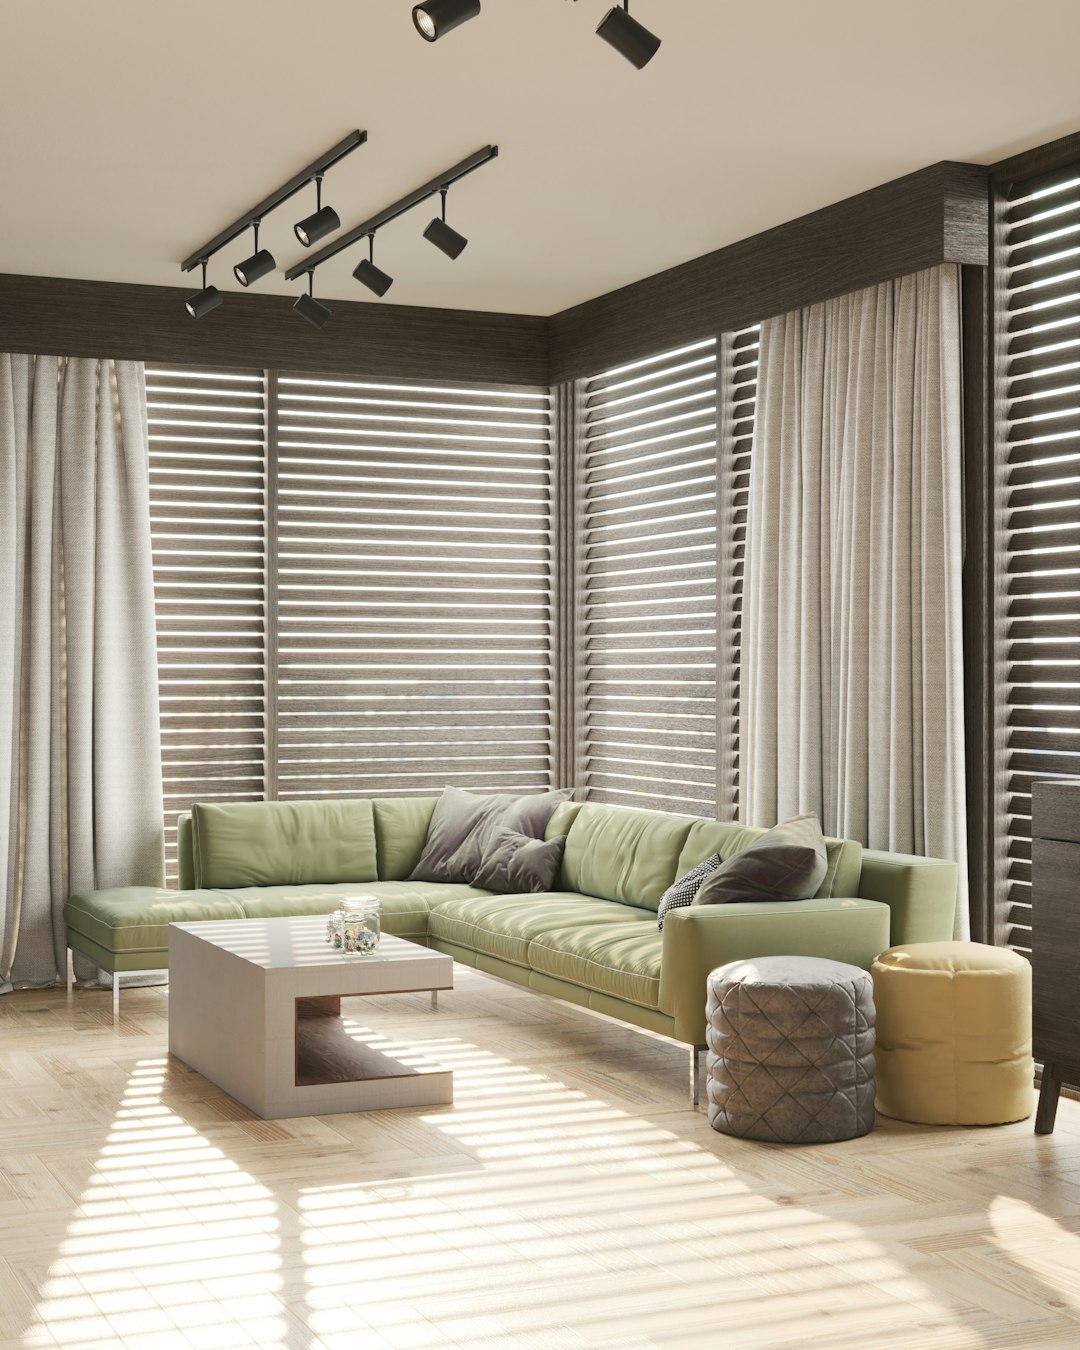
Illustrative reference image; not an AHL installation.
Wired or wireless: compare the installed plan
A finished flat and a new build offer different routing opportunities. Compare the functions, infrastructure, physical controls, serviceability and expansion of each proposal. A wireless communication method does not remove the need for suitable power, installation and compatible equipment.
Ask the designer to explain any platform or hub dependency in plain language. If comparing a SmartNode proposal with a system based on KNX or another approach, compare the actual specified implementation. KNX is a standard rather than one directly equivalent product package.
Agree a manageable first phase
Write down the included rooms, circuits, controls and scenes. Identify installation access, any repainting or joinery work, commissioning and training. Keep proposed future rooms separate and ask what additional infrastructure they would require.
Before accepting the handover, use the system yourself, try the agreed fallback controls and verify the named scenes. Record account ownership and the process for changing settings later. Product warranty, labour, travel and programming changes should have clear terms in the proposal.
Bring the right brief to a Pune demo
Bring a floor plan, photographs, your three priorities and a list of existing lighting and curtain equipment where available. Tell the team whether the flat is occupied and which finishes you want to retain. Visit the SmartNode Experience Center to try controls, and review lighting coordination if fixtures or dimming are also changing.