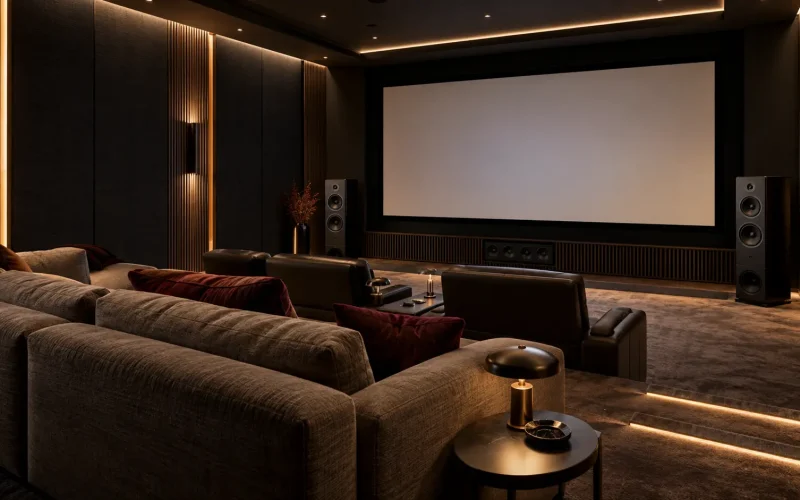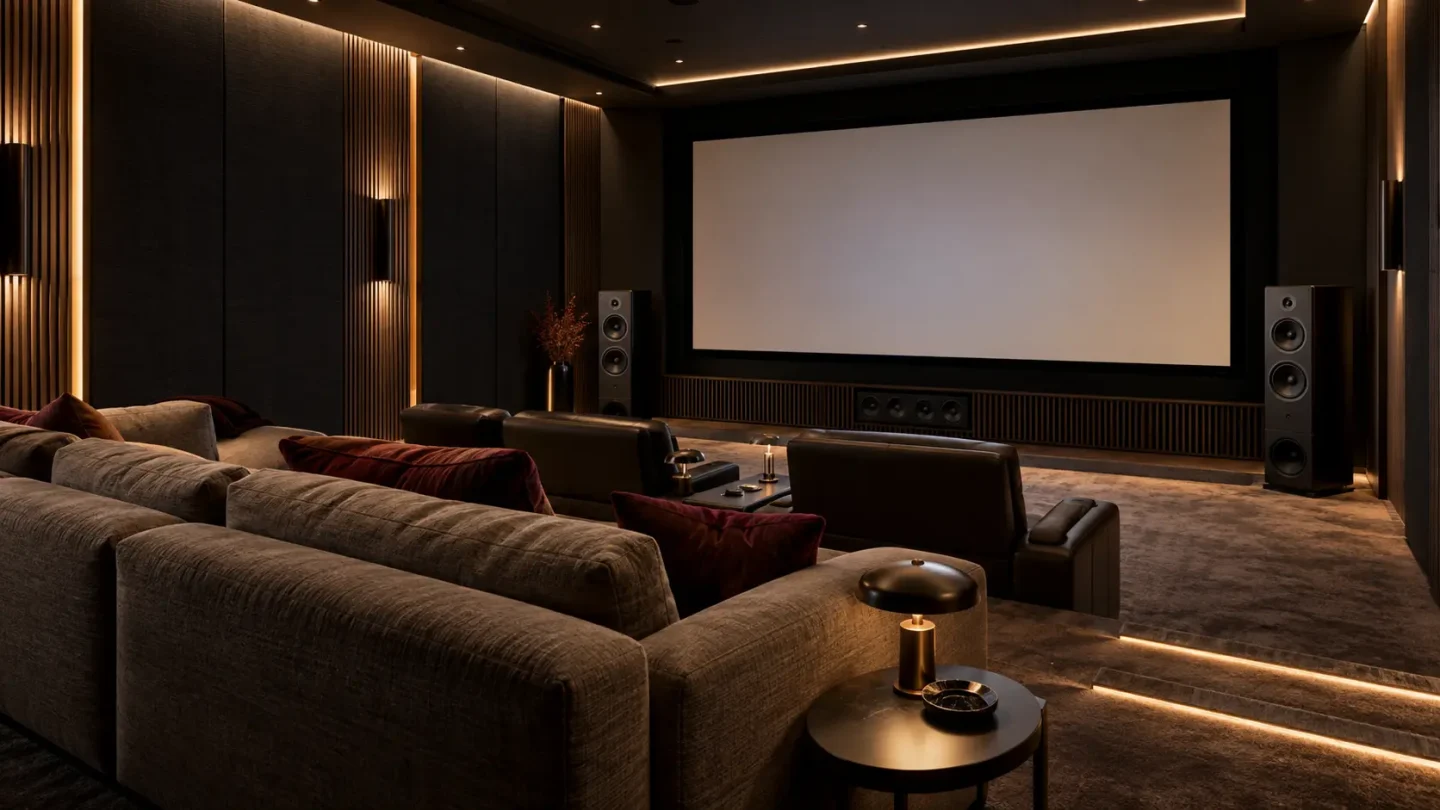
A speaker layout is a relationship between the listener, the room and the soundtrack. Drawing an attractive row of speakers on an elevation is only part of the job. Before construction begins, mark the main listening position and use the guidance for your selected surround format and exact loudspeaker models to develop the layout.
Give the front stage a clear purpose
The left, centre and right channels connect sound with the picture. Position them as a coordinated group, keeping the centre channel's path to listeners clear. A cabinet shelf, an unsuitable enclosure or a screen that obstructs a speaker can affect the result. Confirm mounting requirements before the joinery drawings are approved.
Separate surround and height roles
Surround speakers and height channels do different jobs. Their positions should follow the chosen format's guidance rather than simply filling spare ceiling locations. Check the relationship to every important seat, especially where a sofa sits close to a wall. A layout that suits one row may need adjustment when another row is added.
Treat bass placement as a room question
A subwoofer location that looks tidy may not produce the most even bass across the seating area. Leave room to assess placement and settings during commissioning. If more than one subwoofer is planned, coordinate cable and power provision early; the final arrangement should follow room evaluation rather than an assumption that extra units automatically solve every problem.
Draw the obstacles before drilling
Show beams, downlights, air-conditioning outlets, curtains and access panels on the same drawing as the speakers. Confirm cable routes, fixing depth and grille clearances with the installer. Keep photographs of concealed wiring and record the final channel labels. These small steps make installation clearer and future maintenance much easier.