

Good coordination makes technology easier to install, use and maintain. This checklist is for homeowners, architects, interior designers and electrical teams planning home theatre, automation and architectural lighting together. It describes decisions and responsibilities; final wiring and electrical specifications must come from the qualified project team.
Start before finishes: agree seating, equipment locations, cable routes, lighting circuits and service access while drawings can still change. A product list is not an installation drawing. Name the person responsible for each drawing, revision, site check and approval.
1. Agree the homeowner’s brief
Record the main uses of each room: films, music, gaming, working, entertaining or a combination. Identify regular users and controls they will find familiar. A project serving visiting grandparents or household staff should not rely on one owner’s phone for everyday lighting.
Separate must-have functions from future options. Agree which rooms are included and what belongs to a later phase. Put the investment range, current construction stage and proposed handover milestone on the brief so technical and interior decisions share the same constraints.

Illustrative reference image; not an AHL installation.
2. Work from one coordinated room plan
- Mark the main seats, reclining positions, screen or TV and clear circulation routes.
- Place speakers and equipment with the room layout, not only the wall elevation.
- Overlay beams, ceiling lights, air-conditioning outlets, curtain tracks and access panels.
- Identify existing equipment to retain and record its exact model.
- Check how equipment can be removed for service after joinery is installed.
Use revision numbers and dates on drawings. Before a site team acts on an emailed screenshot, confirm that it represents the current approved plan. A furniture change can affect speaker placement, screen sightlines and keypad positions at the same time.
3. Resolve routes and access before closure
Ask the relevant contractor to specify cable types, routes, capacity and termination points for the chosen equipment. Coordinate signal, network and electrical provisions with the applicable requirements and manufacturer guidance. Do not copy conduit sizes from an unrelated installation without reviewing cable connectors, bends and pull access.
Agree inspection points before wall and ceiling closure. Photograph concealed routes, label both ends and retain a route drawing. Keep access to connections, drivers and equipment ventilation usable; a hidden system still needs to be serviceable.
4. Prepare a lighting-loop and control schedule
List each lighting group by room, fixture type and intended control. For dimming, confirm the fixture, driver and controller combination rather than assuming every LED fitting behaves the same way. Check decorative fixtures before they are purchased independently.
| Field | Record | Who confirms? |
|---|---|---|
| Room and group | Location, purpose, fittings and circuit identifier | Lighting and electrical teams |
| Control behaviour | Switching, dimming, fan or curtain operation | Automation designer and installer |
| Interface | Physical switch, keypad, app and scene label | Homeowner and design team |
| Compatibility | Selected driver, load and controller details | Responsible technical suppliers |
| Access | Service location and removal method | Interior and electrical contractors |
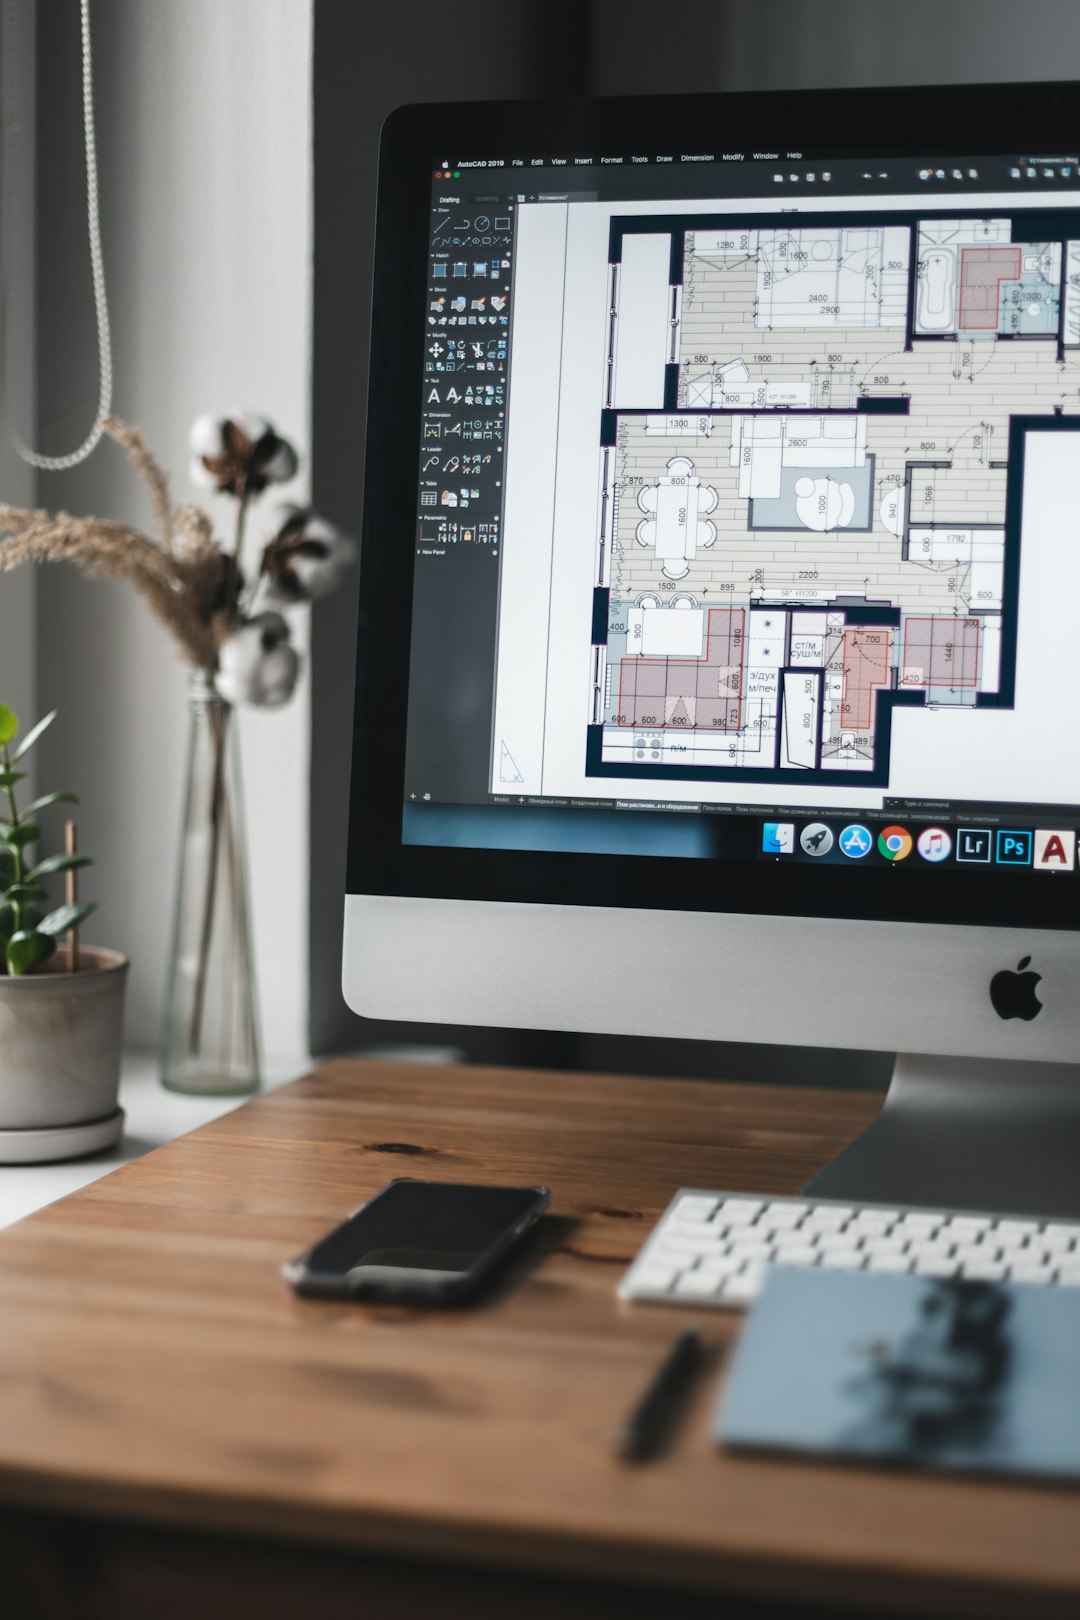
Illustrative reference image; not an AHL installation.
5. Make the BOQ and responsibilities explicit
A bill of quantities should identify supplied equipment and the work needed to make it function. Distinguish equipment supply, wiring, mounting, civil works, programming, testing and handover. Assign an owner to each item so two quotations do not silently exclude the same task.
Keep allowances and exclusions visible. Agree who approves substitutions, who pays for a changed route and when a variation needs written sign-off. For equipment placed in cabinetry, coordinate space, airflow and cable access before the cabinetry is manufactured.
6. Design the commissioning checks
- Confirm that the final device and channel labels match the drawings.
- Test the agreed sources, controls and common household routines.
- Check network-dependent and internet-dependent functions separately.
- Review lighting scenes with the actual finishes and furniture in place.
- Record outstanding work, its owner and the completion milestone.
Do not make handover a quick demonstration after everyone has left the site. The homeowner should try the system, change a source and recover a familiar setting. Where the scope includes calibration, request a record of what was checked and the final agreed settings.
7. Keep a practical handover pack
Include as-built drawings, labelled equipment records, invoices, applicable warranty documents, account ownership, support contacts and short operating notes. Agree how future firmware updates, scene changes and visits are handled. Store sensitive account credentials securely with the authorised owner, not in a public project booklet.
AHL can discuss the technology layer with your project team in Pune. Explore home theatre planning, SmartNode automation and architectural lighting coordination. Bring the current floor plan and reflected ceiling plan to the first discussion.