

A speaker layout is a relationship between the listener, the room and the soundtrack. Drawing an attractive row of speakers on an elevation is only part of the job. Before construction begins, mark the main listening position and use the guidance for your selected surround format and exact loudspeaker models to develop the layout.
A practical planning checklist
| Decision | What to confirm |
|---|---|
| Front channels | Keep the sound path to the main seats clear. |
| Surround and height | Use distinct positions appropriate to the chosen layout. |
| Subwoofer | Allow placement and settings to be checked in the finished room. |
| Before drilling | Coordinate beams, lights, AC outlets and access panels. |
Give the front stage a clear purpose
The left, centre and right channels connect sound with the picture. Position them as a coordinated group, keeping the centre channel's path to listeners clear. A cabinet shelf, an unsuitable enclosure or a screen that obstructs a speaker can affect the result. Confirm mounting requirements before the joinery drawings are approved.
Separate surround and height roles
Surround speakers and height channels do different jobs. Their positions should follow the chosen format's guidance rather than simply filling spare ceiling locations. Check the relationship to every important seat, especially where a sofa sits close to a wall. A layout that suits one row may need adjustment when another row is added.
Treat bass placement as a room question
A subwoofer location that looks tidy may not produce the most even bass across the seating area. Leave room to assess placement and settings during commissioning. If more than one subwoofer is planned, coordinate cable and power provision early; the final arrangement should follow room evaluation rather than an assumption that extra units automatically solve every problem.
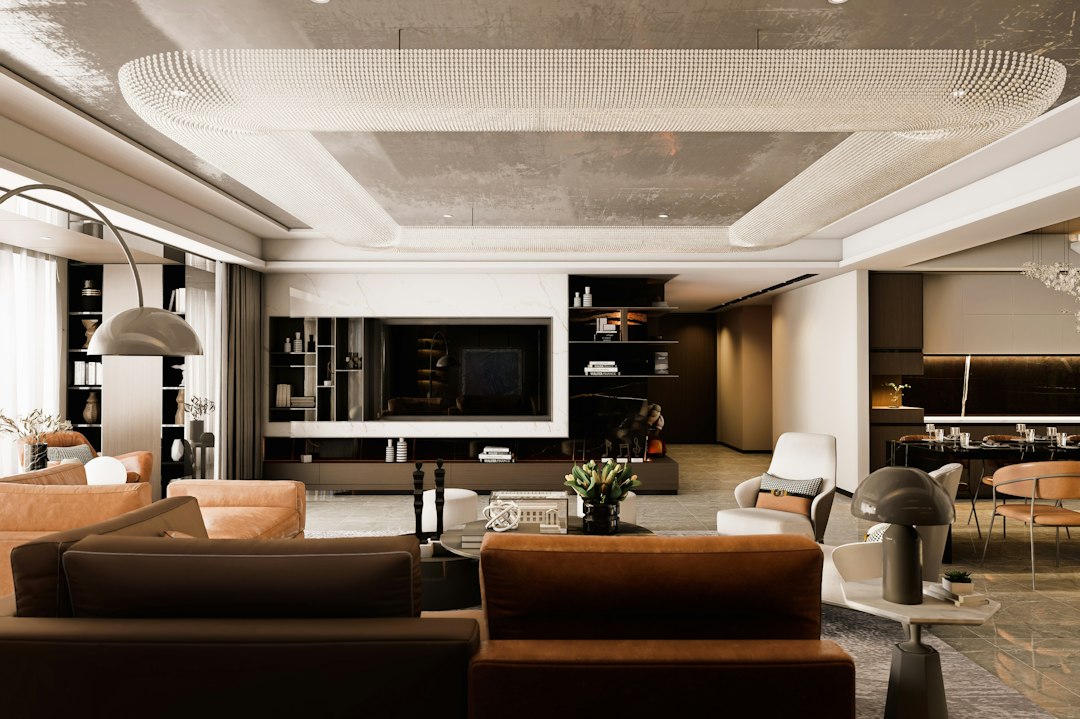
Illustrative reference image; not an AHL installation.
Draw the obstacles before drilling
Show beams, downlights, air-conditioning outlets, curtains and access panels on the same drawing as the speakers. Confirm cable routes, fixing depth and grille clearances with the installer. Keep photographs of concealed wiring and record the final channel labels. These small steps make installation clearer and future maintenance much easier.
What room size works for a home theatre?
There is no single minimum room dimension that guarantees a good installation. Start with the seats, the image position and usable speaker locations. A large room can still have difficult doorways or an awkward sofa position, while a smaller room can support a well-chosen, simpler system.
Record the length, width and ceiling height, then mark doors, windows, beams and furniture. Measure from the main viewing position rather than from an empty wall. In an open living–dining space, include the opening and adjoining area in the discussion; a room’s labelled floor area does not describe all of its acoustic conditions.
Choose the layout the room can support
| Layout | What the notation describes | Planning question |
|---|---|---|
| 2.1 | Two main speakers and a subwoofer | Is music and a simpler installation the priority? |
| 5.1 | Five main channels and a subwoofer | Can the front and surround positions serve the main seats? |
| 5.1.2 | Five main channels, a subwoofer and two height channels | Can the chosen height-speaker approach work with the ceiling and seats? |
| 7.1 | Seven main channels and a subwoofer; no height channels specified | Is there a useful arrangement for the additional surrounds? |
Use the official Dolby layout guides and the selected loudspeaker instructions for the final design. More channels do not compensate for locations that the room cannot accommodate.
A planning example: a sofa close to the rear wall
Imagine a finished apartment where the main sofa sits against the rear wall and a doorway interrupts one side. This is an illustrative planning problem, not an AHL case study. Before choosing 7.1 or adding ceiling speakers, ask whether the seats can move and where the appropriate surround positions could be placed.
If the furniture cannot move, compare a simpler configuration with the more complex proposal. Review dialogue, surround effects and everyday usability rather than assuming a higher channel count must win. Keep physical access and appearance in the decision.
In-wall, on-wall or freestanding speakers?
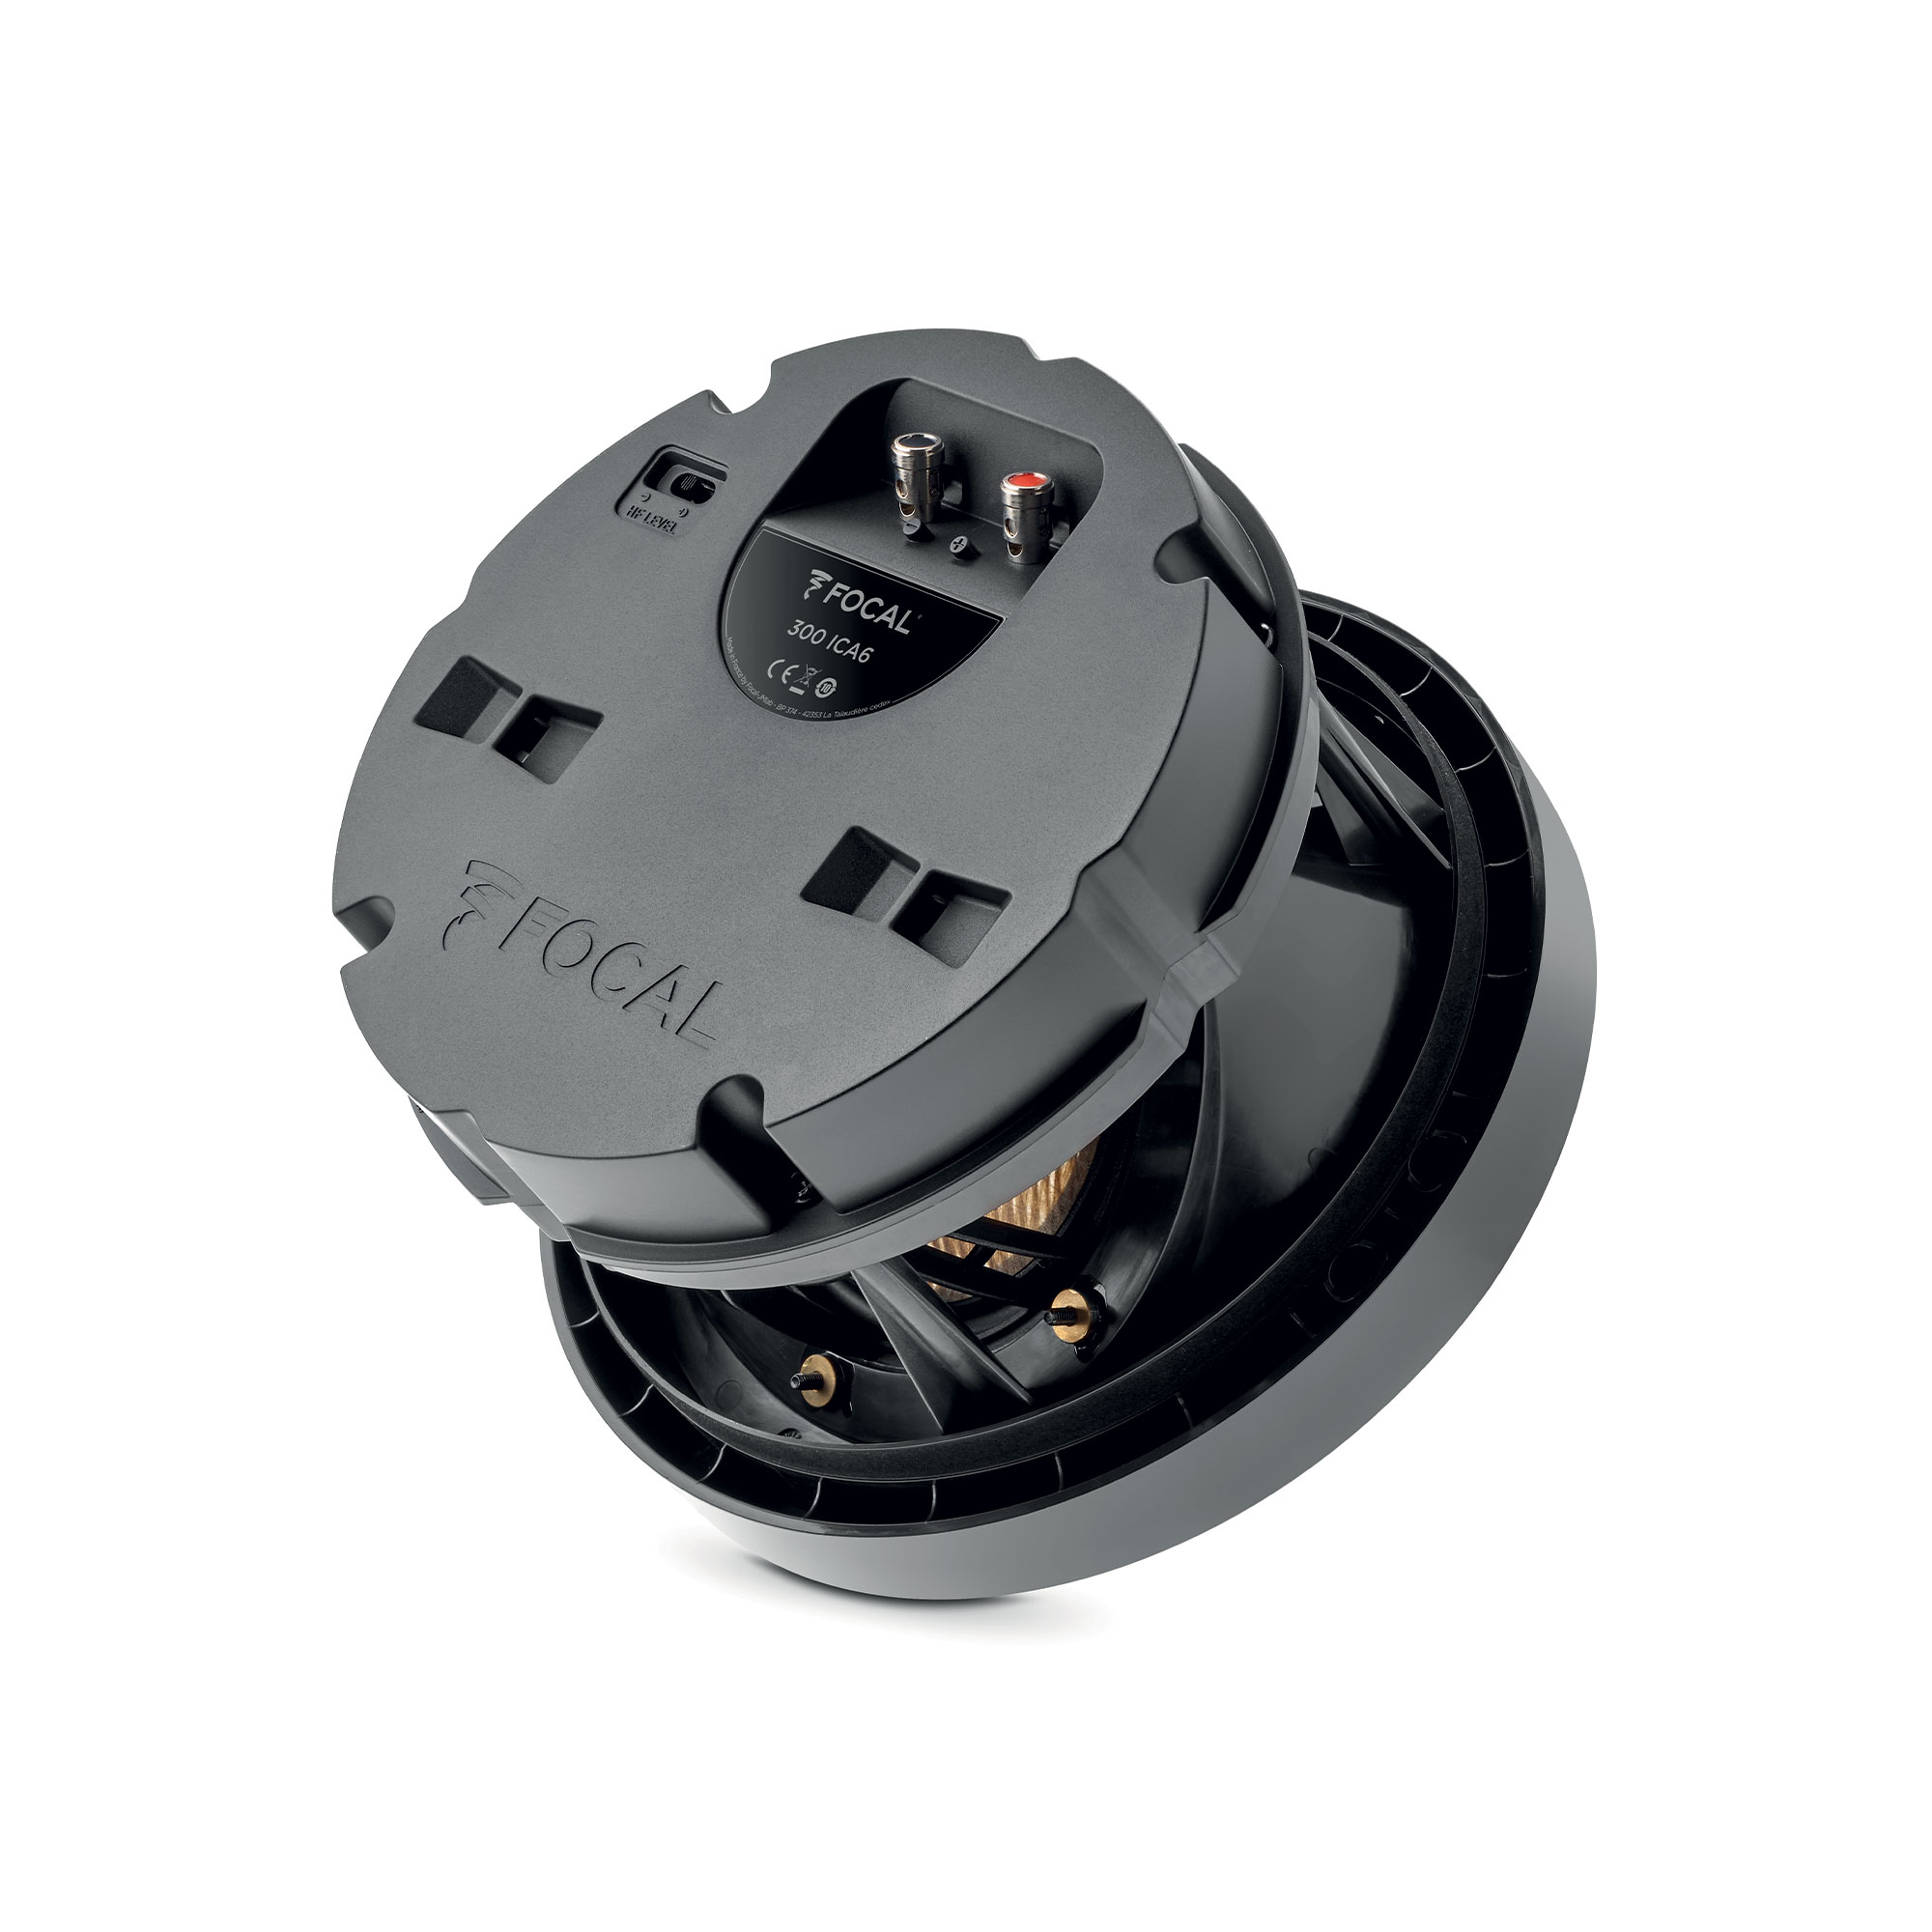
In-wall speakers need a suitable construction and access plan; on-wall speakers need agreed mounting positions and routes. Freestanding models make different demands on floor space and furniture. Choose from the room constraints and the selected product’s requirements, not only a picture of a finished installation.
Read the Focal indoor speaker guide for the available families, then confirm current models and demonstration availability with AHL. For a finished flat, a tidy visible route may be more practical than reopening walls solely to conceal it.
Turn the layout into an installation brief
Bring a measured plan, photographs, the TV or projector model, regular seat count and acceptable equipment positions. Identify the finishes you want to retain and any concerns about sound reaching adjacent rooms. Separate those isolation concerns from treatment inside the listening room.
Use the architect coordination checklist before approving ceilings and joinery. If the scope is still open, compare the complete installation budget before buying individual components.
Our home theatre planning team in Pune can coordinate speaker positions with seating, room drawings and the installation plan.